Table of Contents
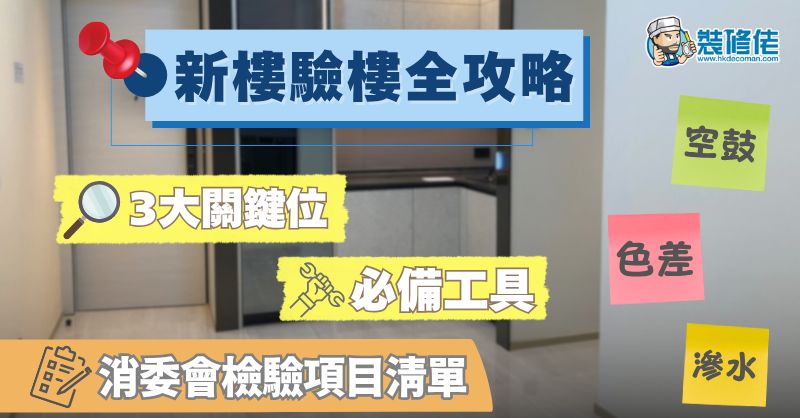
New Home Inspection Guide: Key Tips
🎧 Listen to this article
In the second half of 2025, multiple new properties are set to be handed over and occupied, which means that many homeowners are eager to plan their renovations and purchase furniture. However, before that, they must face a crucial step — "property inspection." In recent years, the construction quality of new properties in Hong Kong has often been inconsistent, and the handover standards may not always meet expectations. Renovation Expert provides a comprehensive guide to new property inspection, covering key inspection points and essential tools, to help homeowners ensure that developers complete any necessary repairs during the warranty period, allowing for a truly worry-free move-in.
Seize the Golden Period for Defect Rectification
The greatest advantage of a new development is the "defect liability period" provided by the developer. According to the law, owners typically have a 6-month period after taking possession to request in writing that the developer rectify any non-artificial damages or defects at their own expense.
This golden period is the most important right for owners. On the day of taking possession, the developer will provide a "defect list," and the inspection process begins immediately. If problems are discovered after the deadline, repair costs must be borne by the owner. Therefore, conducting a thorough inspection in the early stages after taking possession is definitely a wise move.
Three Key Aspects of Property Inspection
There are many items in property inspection, but they can be summarized into three core areas, with "water" issues being the most critical.
1. Waterproofing Work
Leaks are the most troublesome flaws in new buildings, often requiring repeated repairs and potentially affecting neighbors. Checking for waterproofing is the top priority in property inspection.
- Kitchen and Bathroom: Fill the sink and basin with water to check for leaks at the bottom and pipes, then drain to observe if water flows smoothly. Use a shower to spray around the shower area and check for water seepage on walls and door edges.
- Windows and Balcony Doors: Inspect all doors and windows to ensure the waterproof seals are intact and properly fitted; splash water to test if any water stains seep through the frames. Also, check for cracks or bubbles in the glass.
- Ceiling and External Wall Pipes: Open false ceilings to inspect pipes and concrete for water stains. Use a mirror to observe external wall pipes, especially air conditioner drainpipes, to ensure there are no leaks.
2. Structure and Workmanship
Workmanship flaws can affect the durability and aesthetics of the unit; addressing them early can save future repair costs.
- Hollow Tiles (Hollow Drums): Gently tap tiles with a metal rod and listen for "hollow" sounds to identify hollow tiles. Pay special attention to hollow tiles near shower areas in bathrooms, as moisture can lead to peeling or even leaks.
- Levelness and Verticality: Use a level to check if floors, window sills, and door frames are horizontal or vertical.
- Door and Window Operation and Installation: Repeatedly open and close all doors and windows to test for smooth operation. Check screws, hinges, and locks for stability, and note the size of door gaps.
- Surface Flaws: Carefully inspect walls for paint, flooring, kitchen cabinets, etc., for scratches or chips. Do not overlook inconspicuous corners like utility rooms.
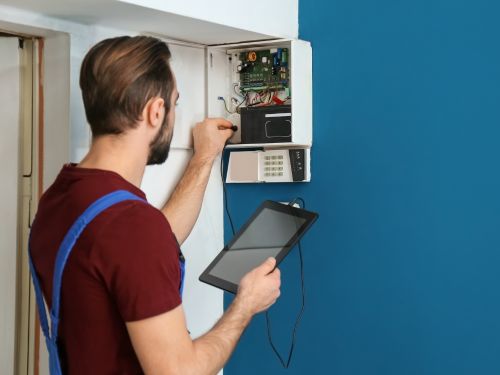
3. Electricity and Household Appliances
Most new properties now come with included appliances, and it's essential to test each one during inspection.
- Power Outlets: Use a plug with an indicator light (or a phone charger) to test all power outlets in the house one by one.
- Appliance Testing: Turn on all included appliances to test their basic functions, such as whether the air conditioner and refrigerator are sufficiently cold, and if the washing machine can fill and drain water normally.
- Verify Brand and Model: Refer to the sales brochure to check if the brands and models of all appliances, sanitary ware, etc., match those in the manual.
Home Inspection Essential Tool List
Doing your own home inspection with a complete set of tools can make the process much more efficient.
| Tool | Purpose |
|---|---|
| Sales Brochure | Verify unit layout, dimensions, materials, and included appliances. |
| Inspection Checklist/Notebook | Systematically record inspection items to avoid omissions. |
| Mobile Phone/Camera | Take photos and videos for evidence, facilitating follow-ups. |
| Sticky Notes (Memo Pad) | Mark flaw locations with notes on issues. |
| Tape Measure/Measuring Tape | Measure the actual dimensions of the unit. |
| Spirit Level | Check if floors, window sills, walls, etc., are level or vertical. |
| Metal Rod | Tap walls and floors to detect "hollow tiles". |
| Flashlight | Inspect dark corners like false ceilings and under cabinets. |
| Plug with Indicator Light | Quickly test all electrical outlets in the house. |
| Moisture Meter | Quantify wall moisture with numerical values for objective testing of water seepage issues. |
| Erasable Marker Pen | Record flaws on glass or tiles, which can be erased afterward. |
| Bucket and Toilet Paper | Test floor drainage; toilet paper can be used to test toilet flush strength and check for minor leaks. |
| Long-Handled Mirror | Safely inspect exterior walls, window tops, and other locations. |
| Ladder | Facilitate inspection of ceilings, high cabinets, etc. |
Consumer Council's 19 Must-Check List
To avoid omissions, you can refer to the Consumer Council's list and check one by one.
| Location | Inspection Part |
|---|---|
| Bathroom | 1. Open the false ceiling to check if there is water leakage in the pipes or concrete structure. |
| 2. Whether construction debris is left on the false ceiling. | |
| 3. Test if the water supply and drainage system, as well as floor drainage, are functioning properly. | |
| 4. Whether the floor slope is sufficient for proper drainage without water accumulation. | |
| 5. Whether sanitary ware (e.g., toilet, sink) has scratches or cracks. | |
| Kitchen | 6. Test if the water supply and drainage system is functioning properly. |
| 7. Whether sanitary ware (e.g., sink) and cabinets have scratches or damage. | |
| 8. Ensure that appliances and gas systems are functioning properly. | |
| Balcony/Utility Platform | 9. Test if the water supply and drainage system is functioning properly. |
| 10. Whether the railings are sturdy and meet safety standards. | |
| Other | 11. Ensure all electrical appliances and switches are functioning properly. |
| 12. Whether cabinet surfaces have scratches or damage. | |
| 13. Whether screws for aluminum windows are complete, if there are waterproof seals, and if the window hinges are securely installed. | |
| 14. Whether the main door and room door locks are functioning properly and if the door frames are aligned. | |
| 15. Whether wall and floor tiles are straight and free of cracks, and if the paint is smooth. | |
| 16. Whether the concrete and plastering are straight. | |
| 17. Whether all glass has scratches or bubbles. | |
| 18. Whether wooden floors have scratches and obvious color differences. | |
| 19. Verify if the brands and models of furniture or appliances match those stated in the sales brochure. |
Read more:[Home Design] Small Changes, Big Coolness: Summer Home Decoration Guide
Self-Inspection vs. Hiring a Building Inspector
- Self-Inspection: The advantage is saving money. The disadvantage is that it requires relevant knowledge and time; otherwise, it's easy to have disputes with the developer when defining defects.
- Hiring a Building Inspector: The advantage is saving time and effort. Their professional report is more persuasive during negotiations and can use instruments to uncover potential issues.
Submitting Reports and Conducting Re-inspections
After the building inspection, immediately submit the "defect list" to the developer. Once the developer notifies that the repairs are completed, the owner must conduct a re-inspection.
During the re-inspection, refer to the original records and photos to check each issue one by one to ensure it has been properly addressed. Do not assume that just because a sticker is removed, the problem is solved. For critical items like leaks, it is advisable to hire professionals to use instruments to confirm that the issue has been fully resolved. Only when the owner is satisfied with all repair results can the handover be considered truly complete.
After successfully completing the handover, it's time to plan the decoration and furniture arrangement for your new home! Register now for a free on-site measurement and decoration quotation
Learn more about free decoration quotations for different housing types:
Public Housing | https://decoman-publichousing.com/
Private Housing | https://decoman-privatehousing.com/
New Properties | https://decoman-newproperties.com/
Tenement Buildings | https://decoman-tenement.com/
===============================================
The content and images of this article are provided by columnist Decor Man.