

Table of Contents
Waterproofing Your Kitchen and Bathroom: A 3-Step Guide
🎧 Listen to this article
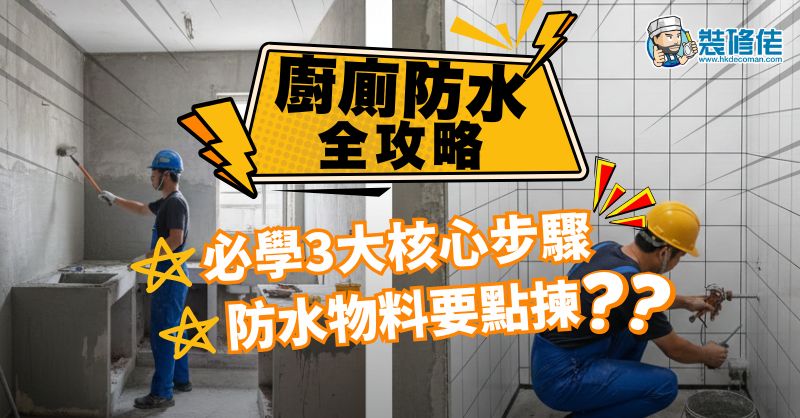
The waterproofing project in home renovation, especially in the kitchen and bathroom, which are the two "wet areas" with frequent water usage, is absolutely one of the core aspects of the entire renovation. Many people think that waterproofing is only to prevent water leakage in their own home, but its importance goes far beyond that.
First Line of Defense: Kitchen and Bathroom Waterproofing System
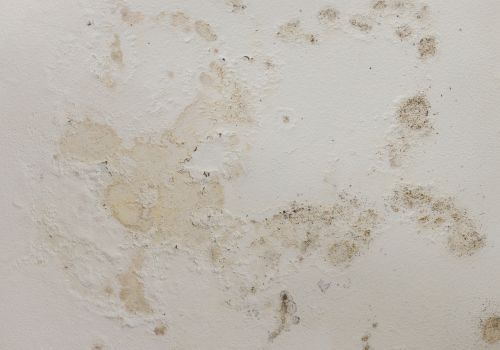
A proper kitchen and bathroom waterproofing system is the first line of defense to protect your cozy home. If the kitchen and bathroom waterproofing is not handled properly, it will not only cause water seepage affecting neighbors, triggering neighborhood disputes or even financial compensation claims, but also cause damage to your own home that cannot be ignored.
- Structural Safety Hazards: Long-term water seepage can cause steel reinforcement to rust and expand, leading to concrete spalling, and in severe cases, endangering the safety of residents.
- Indoor Environmental Damage: The paint on walls and ceilings will swell, bubble, or even peel off due to moisture, affecting the appearance.
To completely eliminate these problems at the root, a complete and long-lasting kitchen and bathroom waterproofing system must be established during renovation. It is not simply a matter of using one waterproof product or process. Instead, it is a systematic project that connects from the base treatment to the surface laying, requiring the selection of corresponding waterproof products for different construction processes to achieve the best waterproof effect.
Building a "Watertight" Kitchen and Bathroom: A Three-Step Professional Waterproofing Process
A professional kitchen and bathroom waterproofing project mainly consists of three major steps. By proceeding step by step and selecting high-performance materials at each stage, you can establish a solid waterproof foundation for your home. The following will break down the construction process and introduce how professional products can provide comprehensive protection for your kitchen and bathroom.
Step 1: Screeding and Leveling to Consolidate the Base
When renovating a kitchen or bathroom, the worker first chisels and removes the old finishes down to the concrete layer, which leaves the wall and floor surfaces uneven. Therefore, a "screeding" process must be carried out first, using cement mortar to re-level the surface to ensure that the subsequent waterproofing layer can be applied evenly.
To enhance the protective capability of the base, a high-solid-content cement additive can be added when mixing the cement mortar to increase the density, adhesion, and water resistance of the screed layer.
Material Selection: SikaLatex Cement Additive
The ultra-high solid content of this product significantly enhances the water-blocking performance of the screed layer, establishing the first barrier of the waterproofing system. Its non-toxic and non-corrosive properties make it safer to use. At the same time, it offers high durability, reducing future oxidation and erosion of the surface layer.
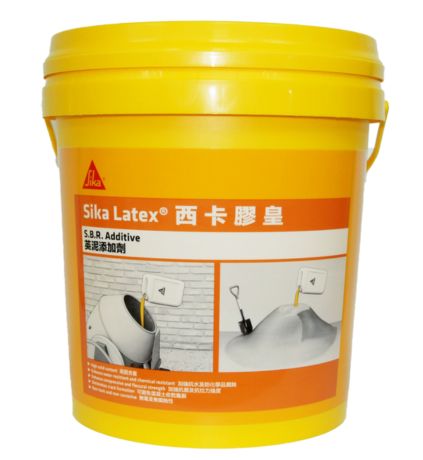
Construction method: Mix water with "Glue King" according to the recommended ratio, then add to cement and sand, stir into mortar, and it is ready to use.
Of course, "water blocking is not waterproofing"; plastering is only the foundation, and we still need to apply a true waterproof layer.
Step 2: Apply waterproof layer Core protection
This is the core of the entire waterproofing project. The waterproof layer is a film applied on top of the plaster layer, characterized by impermeability, high elasticity, and aging resistance. When selecting waterproof materials, priority should be given to water-based waterproof mortar, which is safer and more environmentally friendly than traditional solvent-based materials.
High-quality waterproof mortar must have high elasticity to withstand the micro-stresses caused by thermal expansion and contraction of building structures, preventing the waterproof layer from cracking and thus providing longer-lasting protection.
Material selection: SikaTop®-300 Seal Sikaflex 300 high-elasticity intermediate waterproof mortar
Such high-elasticity waterproof mortar meets this need. It has ultra-high elasticity, effectively covering cracks and providing long-lasting waterproof performance. Its water-based, non-toxic formula ensures peace of mind for both homeowners and workers.
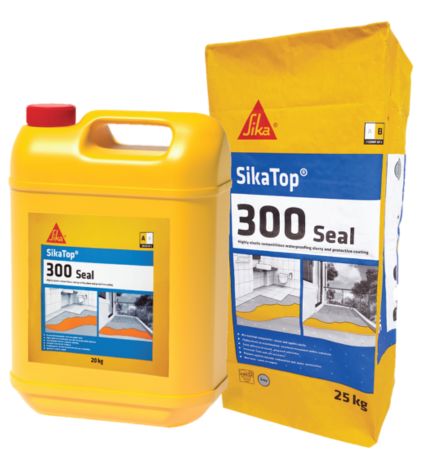
Construction Method: First, sprinkle water to wet the plaster surface, then apply the first layer of waterproof mortar. Wait about 8 to 12 hours for it to dry thoroughly, then apply the second layer to complete.
➡️ Shop Now for Quality Waterproofing Materials
Step 3: Tiling and Grouting — Providing Finish and Protection
After the waterproof layer has dried, tiles can be laid. Tiles not only beautify the space but also protect the underlying waterproof layer from daily physical wear. This step includes two key points: "tiling" and "grouting."
1. Tiling: Use High-Adhesion Tile Adhesive
To avoid future hollow or loose tiles, it is essential to use tile adhesive with strong bonding power.
Material Selection: Davco TTBⅡ Large Tile Adhesive
This product has strong adhesion, firmly attaching tiles without hollowing. It is ready to use with water, easy to apply, saves time effectively, and has environmental and safety certifications.
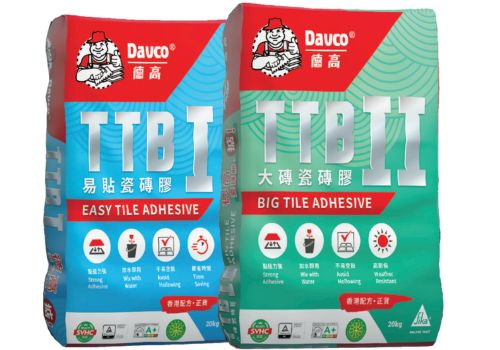
Construction method: Mix water and tile adhesive powder in proportion to form a mortar, then apply to the construction surface and the back of the tile for installation.
2. Tile grouting: Combining antibacterial and mold resistance
The gaps between tiles are sanitary dead corners, prone to dirt accumulation and mold growth. To completely solve the problem, it is recommended to use high-performance epoxy resin grout.
Material selection: Davco TileGuard Epoxy Grout
The advantages of Davco "TileGuard" lie in its antibacterial properties (according to SGS reports, the antibacterial rate against various common bacteria is up to 99.8%), mold resistance, stain resistance, wear resistance, and easy cleaning. Its hard and smooth surface prevents stains from penetrating, making cleaning easier.
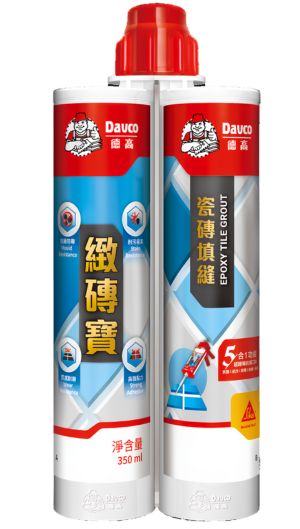
Construction method: After cleaning the tile joints, insert the "Zhi Zhuan Bao" into a special glue gun, attach the mixing nozzle, and directly inject into the gaps for construction.
In summary, a successful kitchen and bathroom waterproofing project relies on clear construction steps and high-quality material selection. From the base plaster layer, the core waterproof layer, to the surface tiles and grouting, every step is indispensable. Homeowners should learn more about the relevant knowledge before renovation, communicate fully with the renovation master, and choose appropriate professional products to truly create a durable, safe, and leak-free comfortable home.
From renovation quotes to before and after moving in, comprehensive one-stop support!
>> Get a free renovation quote: https://hkdecoman.com/measure
>> Book a home clinic (inspection/cleaning/repair): https://clinic.deco-x.com/
Special zones for various property types:
>> Public housing https://decoman-publichousing.com/
>> Private housing https://decoman-privatehousing.com/
>> New developments https://decoman-newproperties.com/
>> Tenement buildings https://decoman-tenement.com/
================================================================
*** This article is republished with permission from 裝修佬 ***